Admin instructions
Site navigation
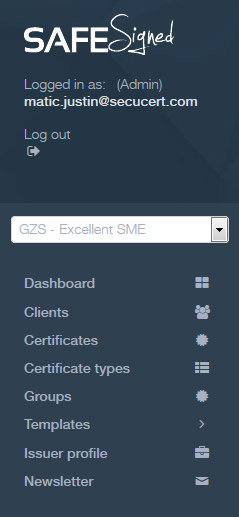
Back to top- Select issuer - (dropdown) Only for Admins with access to multiple issuer accounts
- Dashboard - Overview of issued certificates and clients
- Clients - List of clients
- Certificates - List of certificates and also used for exporting information
- Certificate types - (read only) list of different certificates
- Groups - (read only) Certificate groups
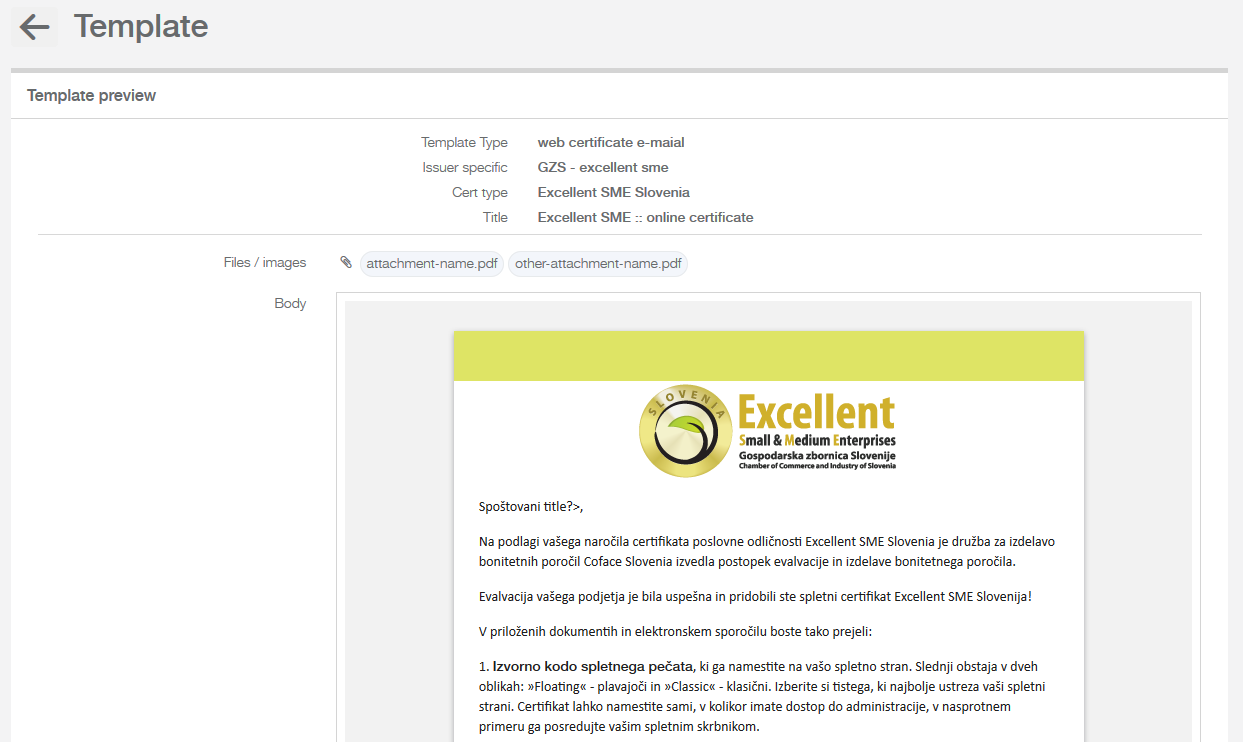
- Templates - (read only) for issuer so you may verify your content
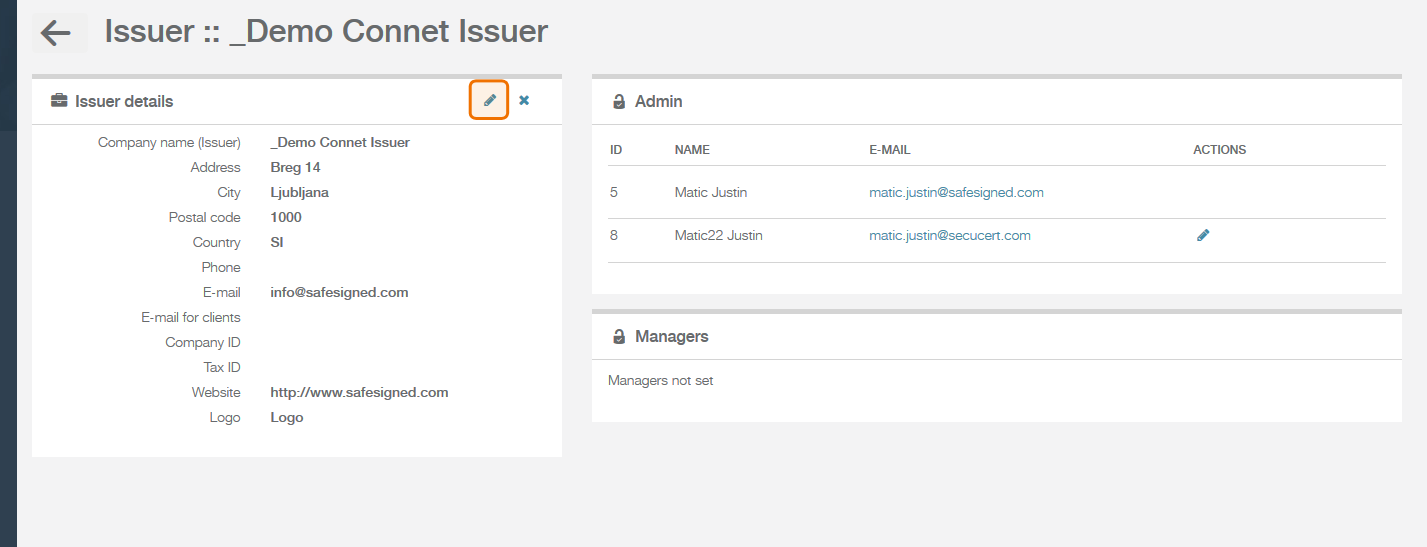
- Issuer profile - Issuer information and permissions
- Newsletter - Used for mass mailing
Dashboard
Back to top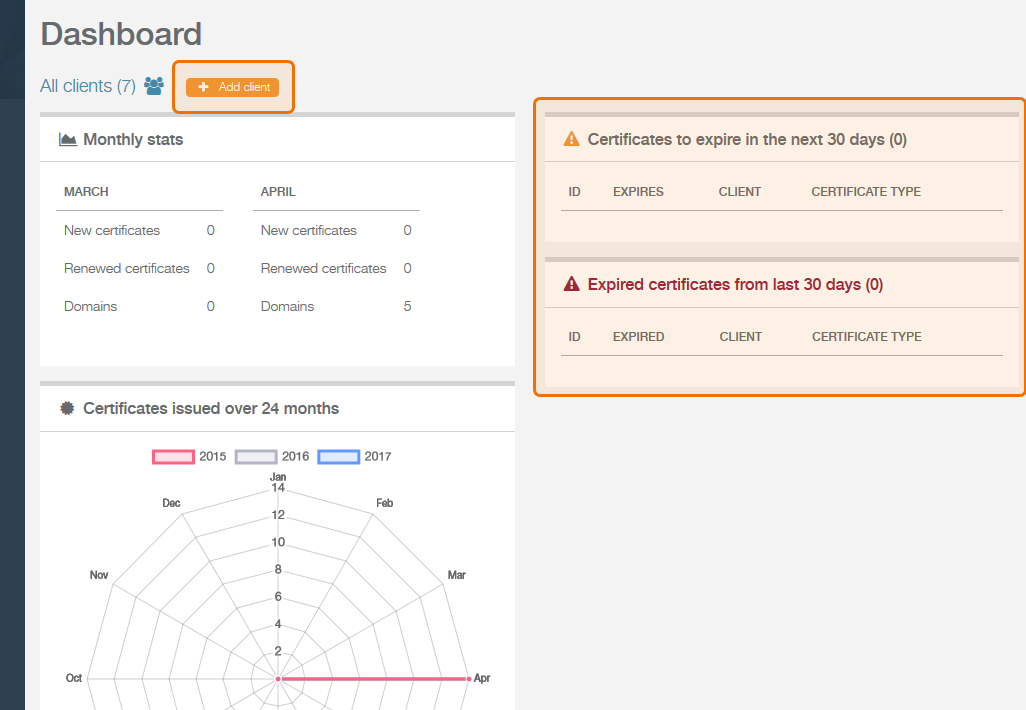
Clients - Steps for creating NEW customers
Back to top
All customers which will have your certificates must be added here first.
Dashboard Click on ‘+ Add client’ and a new page will open.

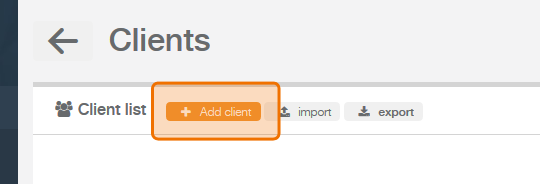
Or from clients list: Navigate to ‘Client’ tab and click ‘+ Add client’
Create new client:
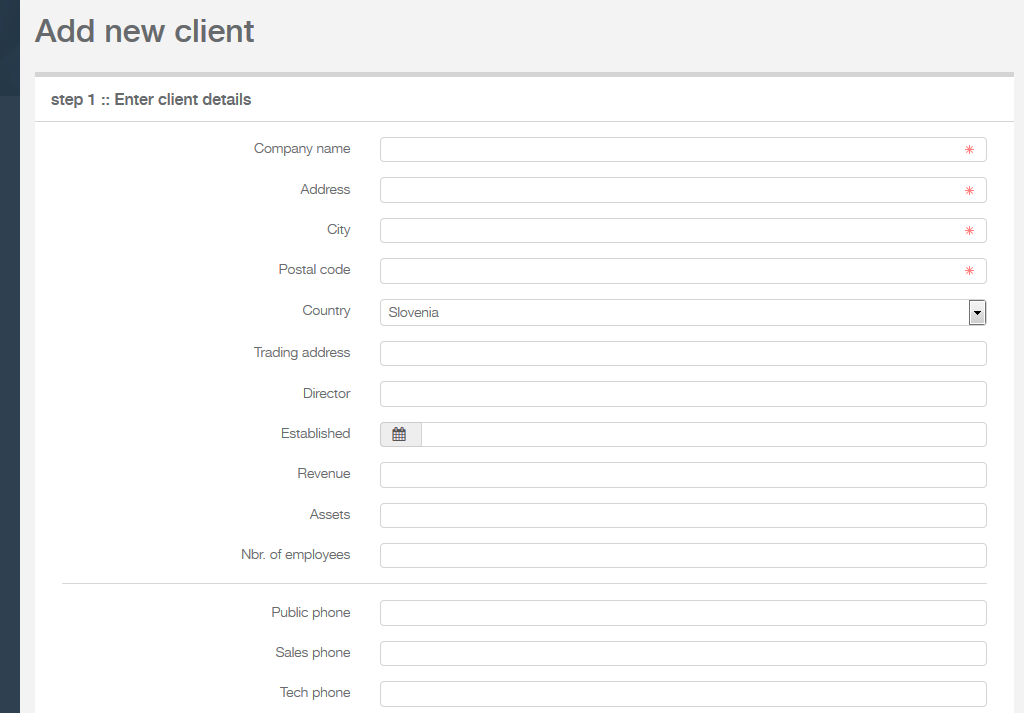
Step 1
enter the client’s information. Most of the fields are self-explanatory, so we’ll just mention the field ‘Verified page path’. This should be the short company name in ASCII (letters A-Z, numbers 0-9 and '-') no space or special characters allowed.For example if the company name is Client Ltd. enter only 'client'.
When you're finished click 'Save & add domain'.
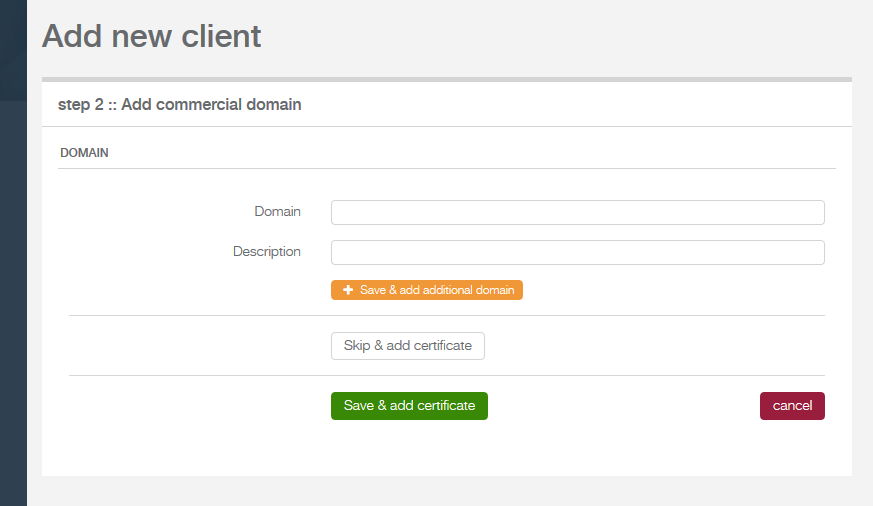
Step 2
Add domain (for client with web pages) / Skip domain (for clients without web pages)
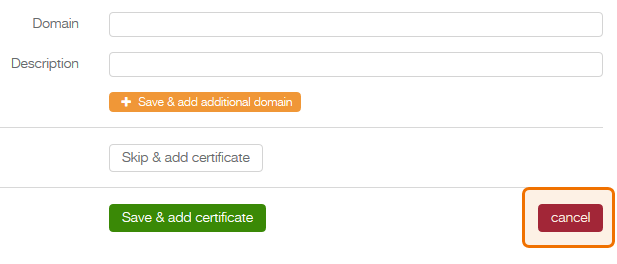
you enter clients domains on which certificate will reside on. One or multiple domains may be entered be using the '+ Save & add additional domain' button.
1. Add the domain name only (without ‘http://’; example: newdomain.com). You can also enter a subdomain (example: sub.newdomain.com).
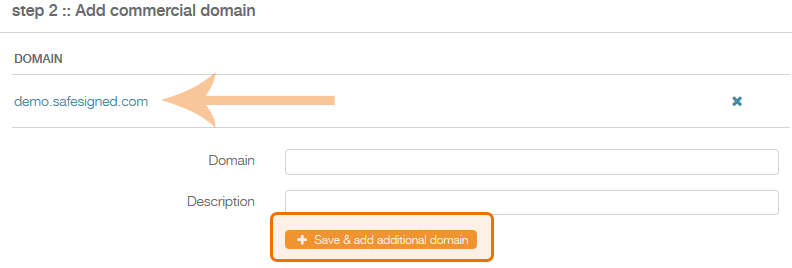
2. Add a description of the website. Description is displayed on verified page under ‘Commercial websites’
If the client does not have a domain you may skip this step by clicking 'skip & add cert'
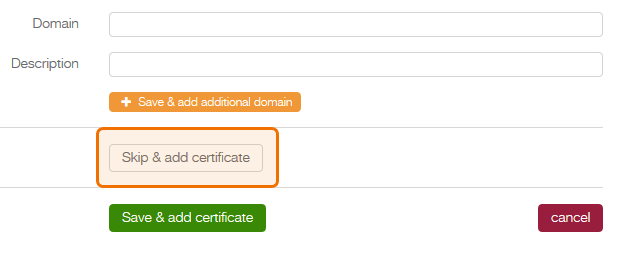
Clicking 'cancel' will take you to 'Clients' page. The client has already been saved and you need to set the domain and certificate over on client page.
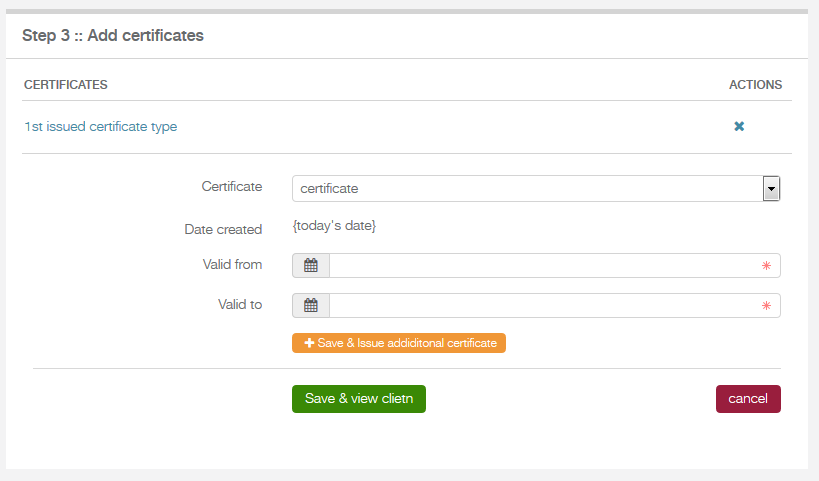
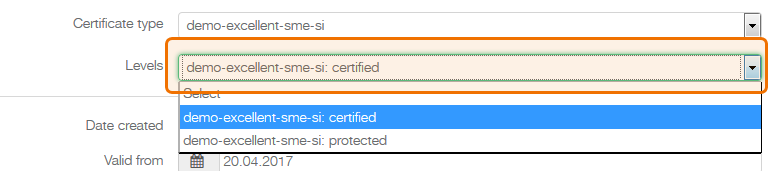
1. Choose your certificate type in the dropdown and certificate level, if there are more then one. Certificate type are installed by SafeSigned representatives.
Select CERITFICATE TYPE

Select LEVEL
2. Valid from and valid to date is set to today and + 1 year. Change if necessary

3. Select all domains where the certificate is allowed to display. Hold ‘shift’ + click to select multiple domains, if available.
Managing clients
Back to topYou will find list of certificate owners on 'Clients' navigation
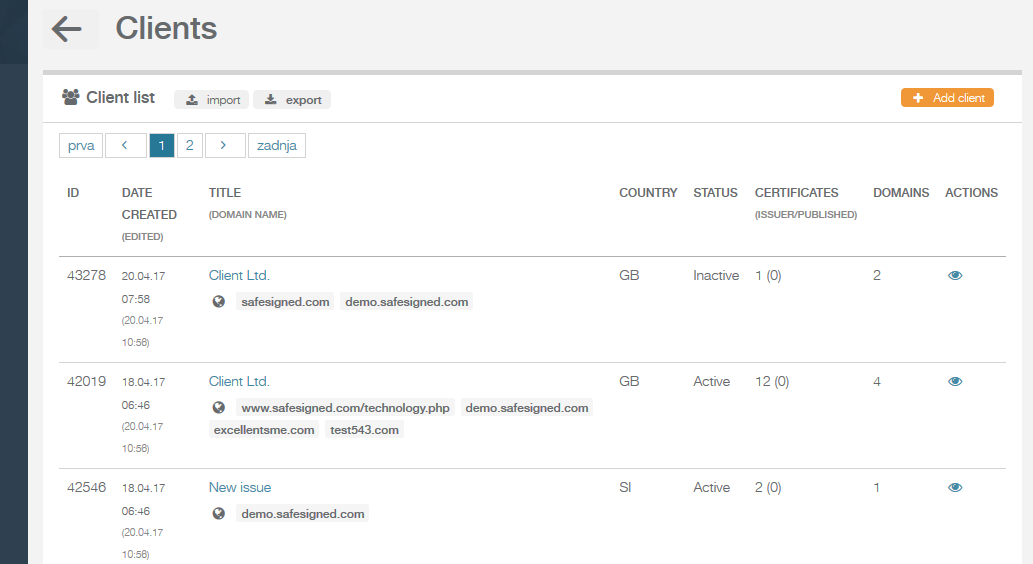
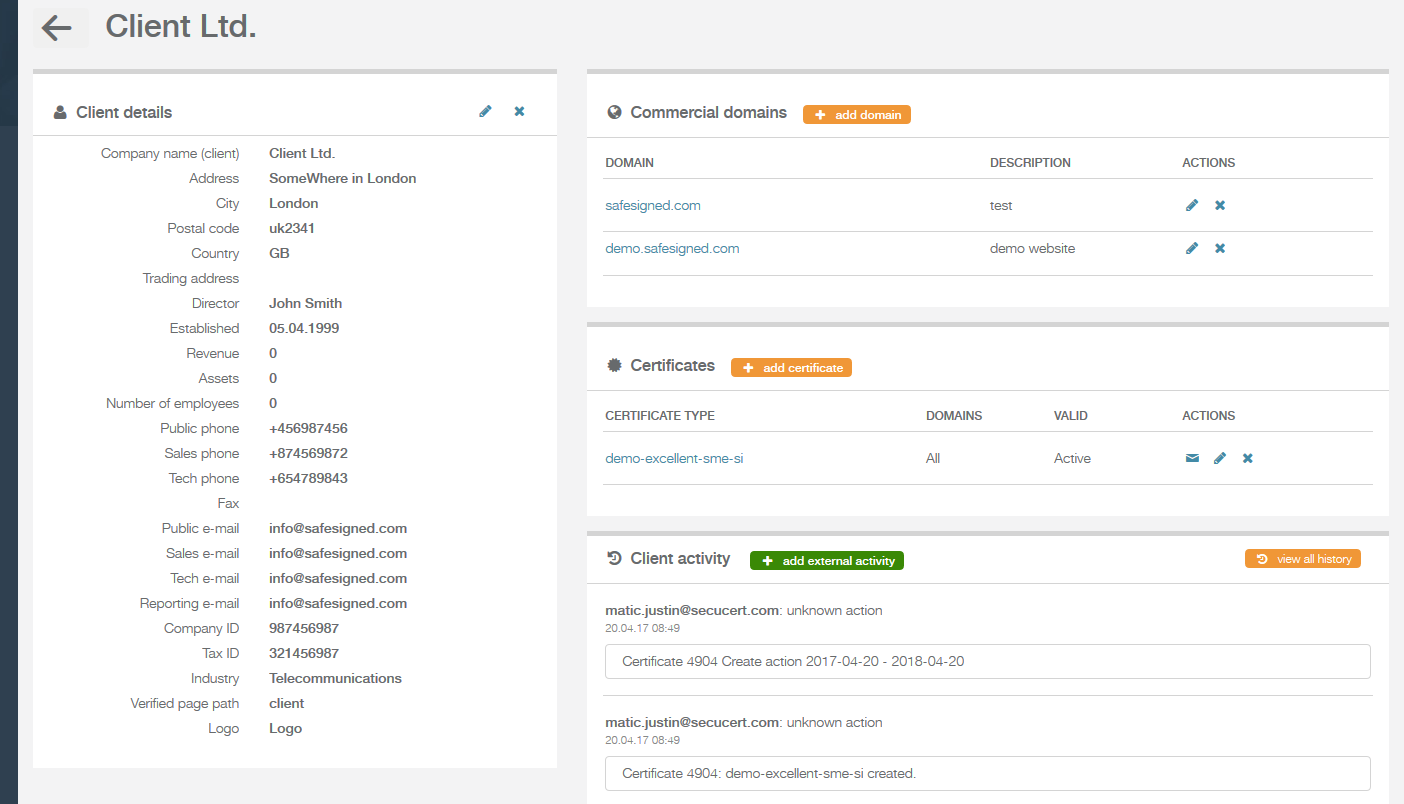
Client/Owner overview
Edit client details – when accessing the client via 'view & edit' button or click on companies name.
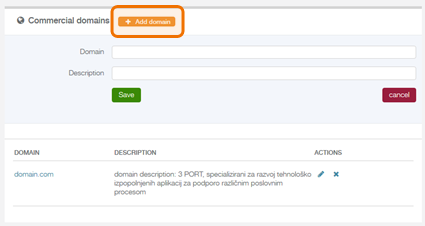
Add domain
- Click on the client and then on the client’s view page click the button ‘Add Domain’.
- Add the domain name only (without ‘http://’; example: newdomain.com). You can also enter a subdomain (example: sub.newdomain.com).
- Add a description of the website. Description is displayed on verified page under ‘Commercial websites’
- Once you ‘Add’ it you can view, edit or delete the domain.
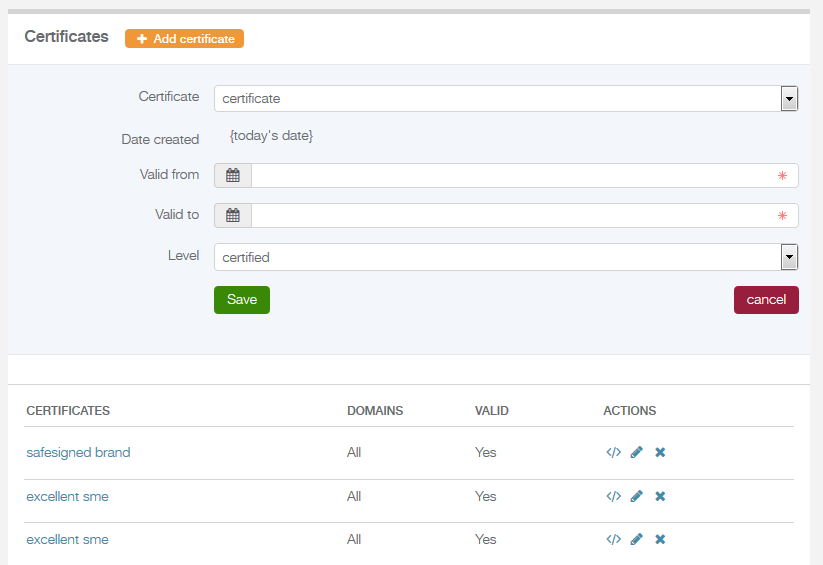
Add certificate
- Choose your certificate type in the dropdown. Certificate type are installed by SafeSigned representatives.
- Select level, if there are more then one.
- Choose from when the certificate is valid and when it expires.
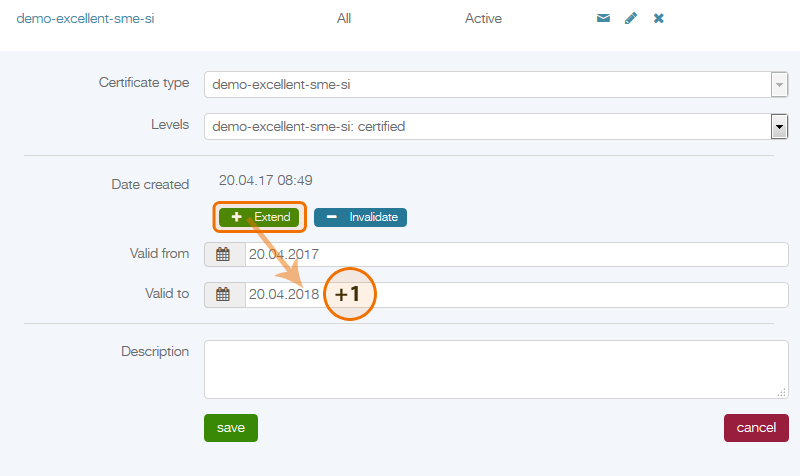
Extending certificate validity - regular
- Edit certificate – click the button ‘+ Extend’ to add 1 year to valid to date
Extending certificate validity - irregular
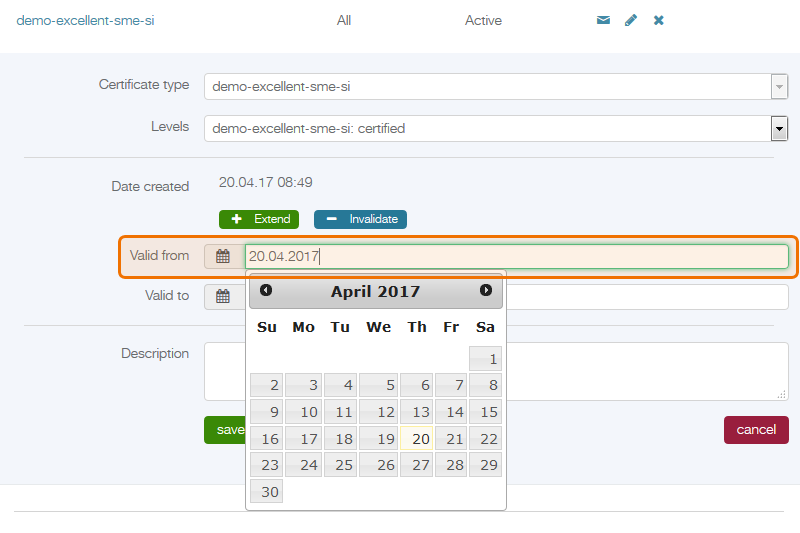
In cases when customer skips a year or more of his subscription or he does not meet the required criteria, next time he orders the certificate, date ‘Valid from’ need’s to be adjusted
- Edit certificate - open calendar and change 'Valid from' date to the day it was ordered again so it is different from the original 'Date created'.
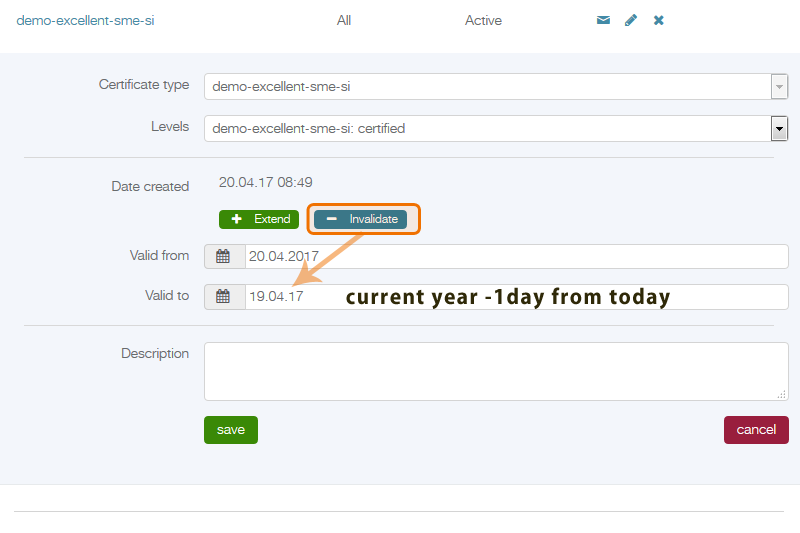
Invalidating certificate
Certificate expire by default when today’s date is greater then ‘Valid to’. If you need to force the invalid state because the client does not meet the required criteria you may click the ‘- Invalidate’ button and the ‘valid to’ date will be adjusted to present year minus one day.
Example: if today is 20.4.2017, the ‘valid to’ date will be set to 19.04.2017
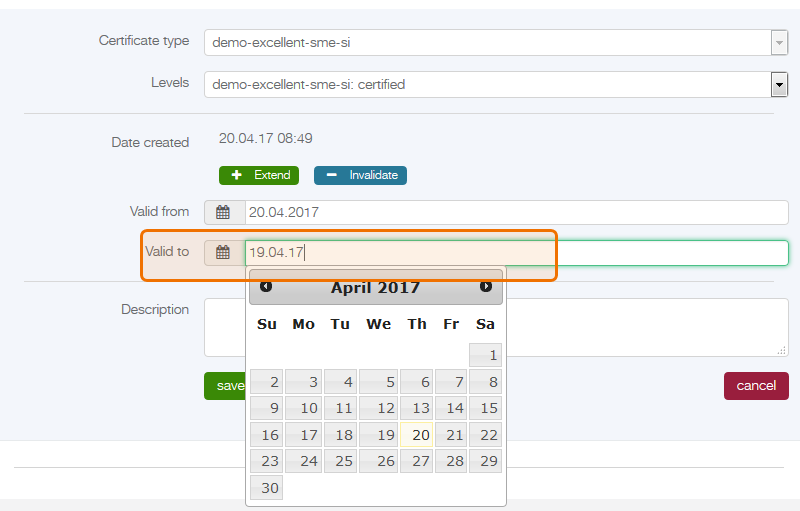
You may also manually change the date by writing it or choosing it from the calendar.
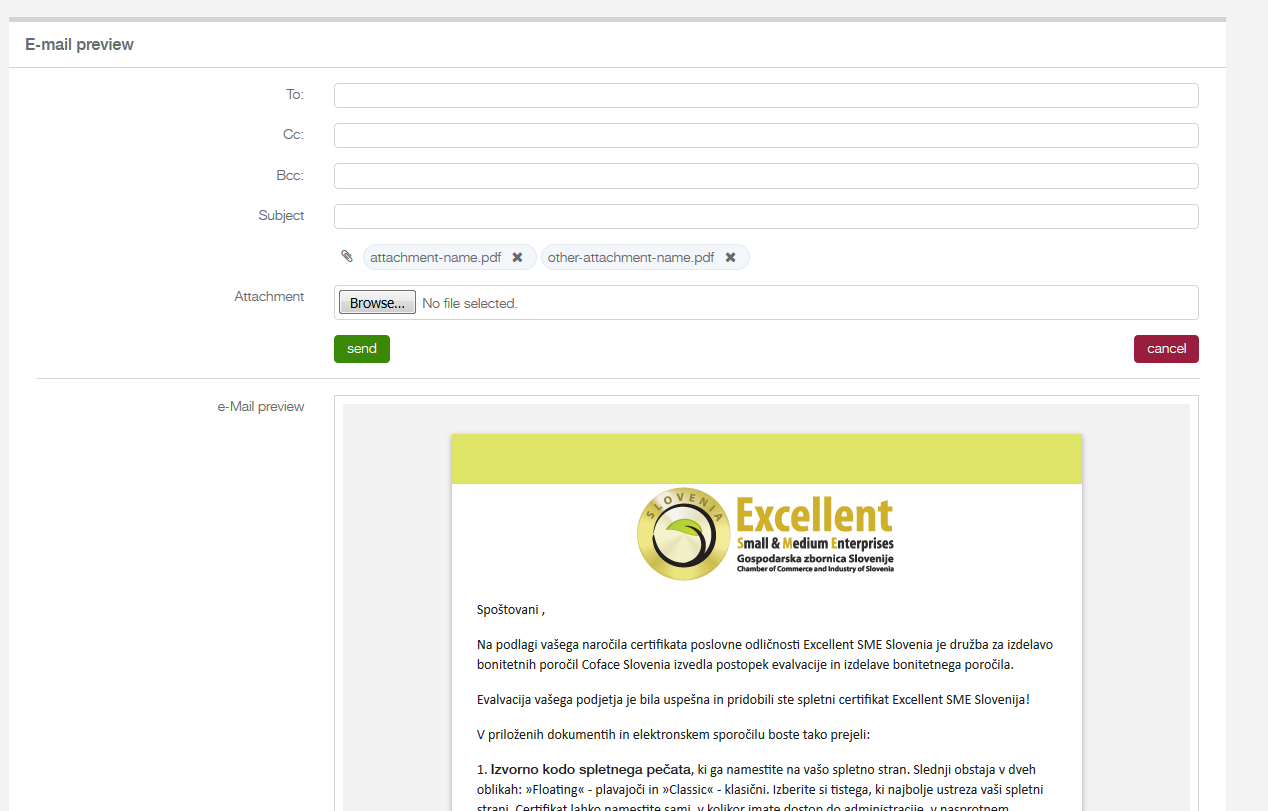
Certificate info and Sending e-mails
Back to top
Left – Certificate detailes
Right – preview and send e-mail
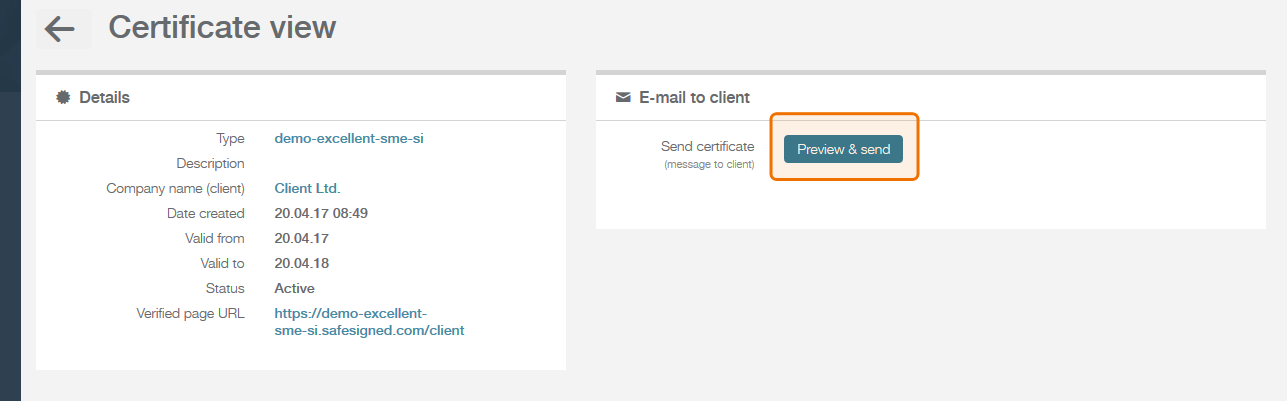
Create and send emails with checking available parts (the content and general attachments (installation instruction, graphics, QR code, code for online seals)) of all parts are set in accordance with Connet when setting up the account. They can be changed anytime in accordance with Connet). You may also add your own attachments for specific certificate owner(client).
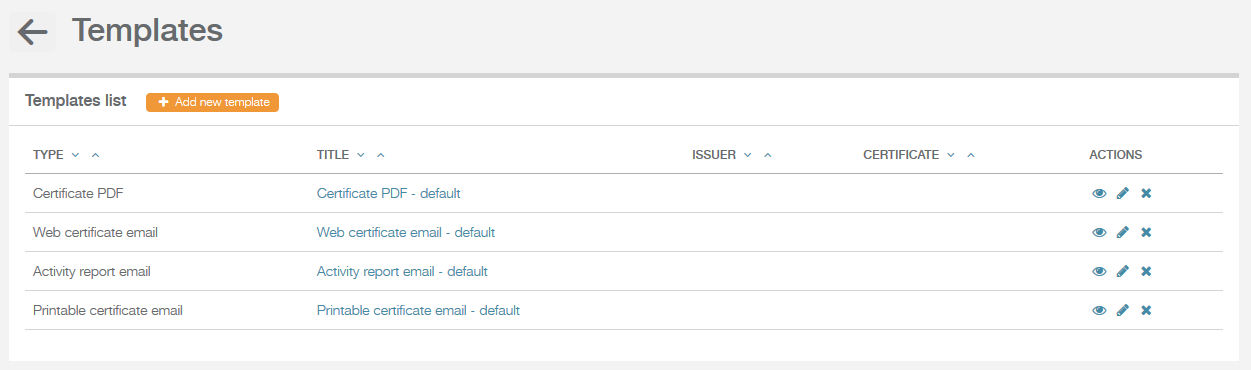
Templates
Back to top
Read only feature for issuers and may only be edited by CONNET.
Here you may see the e-mail and documents that are being sent to certificate owners(clients).
Template types:
-
Certifcate PDF
Printable version of certificate in A4 format. -
Web certificate email – first email to client
First email to client with online code and other optional attachments (instructions, QR code, printable certificate) -
Follow up email – extend certificate email
Follow up email to client with optional attachments (updated QR code, printable certificate) -
Activity report emalis
A report for clients if there was any online copy attempts - Newsletter
Template preview
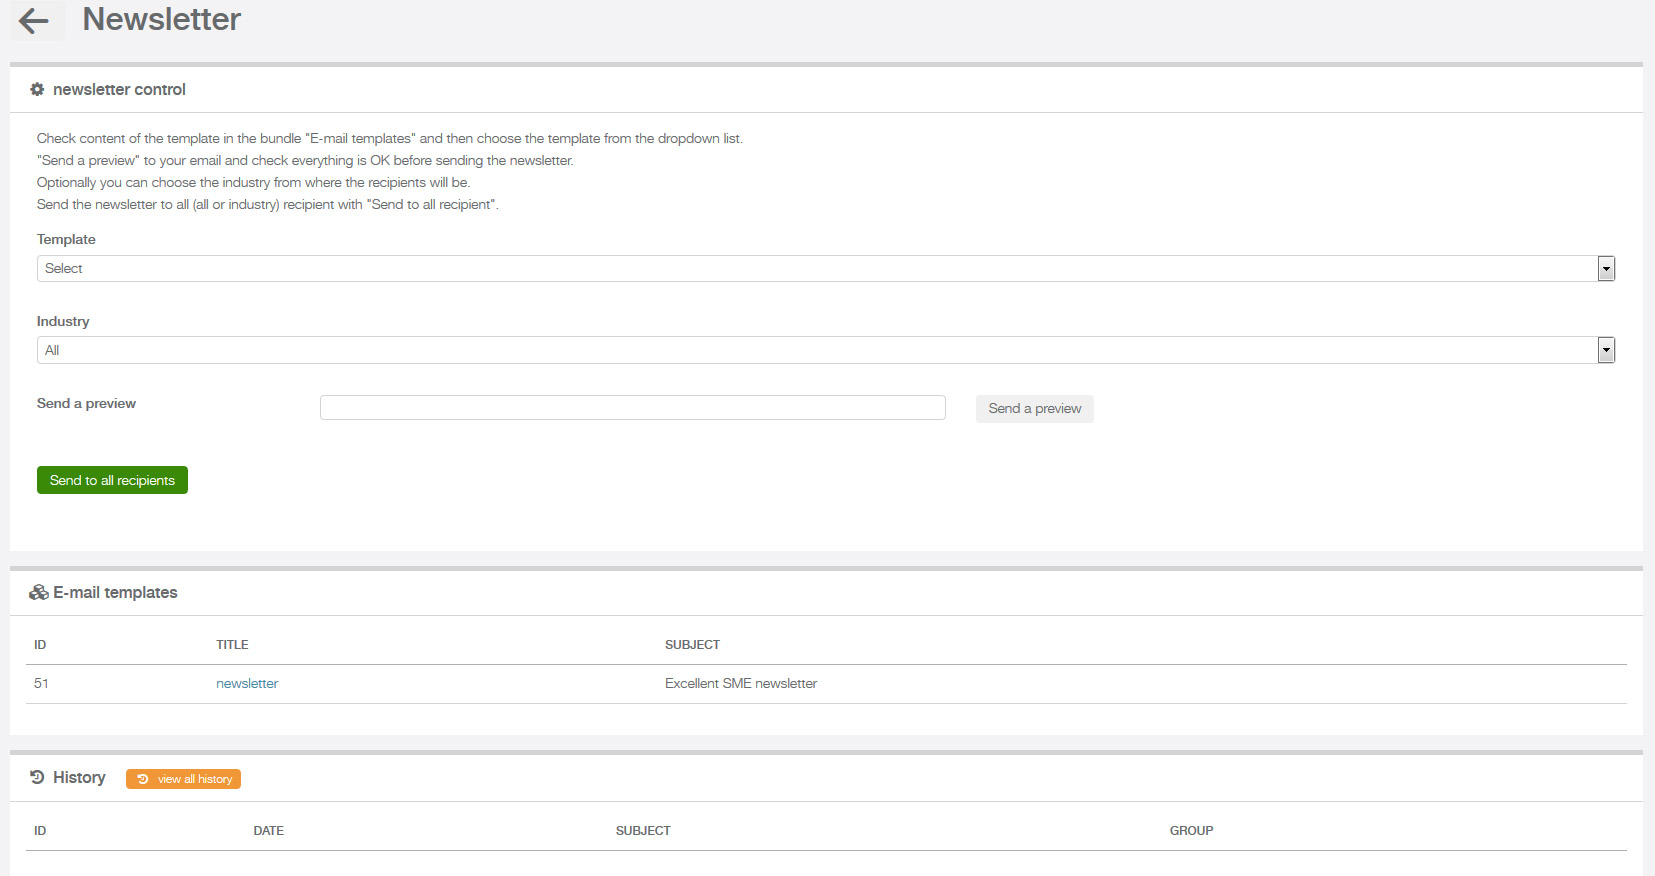
Newsletter
Back to topView – preview of all sent newsletters on the issuer level.
Newsletters and other e-mails may be sent to all your clients or just a specific industry. All templates are managed by CONNET. For creating or editing templates contact info@safesigned.com
User management
Back to topAs an ‘Issuer Admin’ you may edit all Issuer details under the Issuer profile. As a user you may also edit your information by clicking on your user name.